Wednesday, June 29, 2011

CJ Too Design Team Project

Hello my crafty friends! I just {love} red, white, and blue...don't you?!  Today's Craft Junkie Too Design Team project theme is Hooray for the Red, White, and Blue.

I am still trying to stay up with my New Year's resolution...my goal is to scrap last year's holiday or occasion before the holiday or occasion occurs this year. Now, I can check off 4th of July!!! Here's what I came up with:
I used the Gypsy Wanderings and Simply Sweet Cricut cartridges for this layout.
I also did a TON of doodling on these pages! I like how it makes the title and cut outs rally "pop!"
The tulle is a glittery tulle from Hobby Lobby. It really adds that sparkle that all 4th of July pages need. :) Some of the stars are placed under the sparkly tulle and I used glue dots to glue some of the stars on top of the tulle.
I totally "lifted" this cute idea from my fantastic sister-in-law (who moved back to Utah, Boo-Who!). She had some red foil stars left over from a party. We added a crumpled and doodled circle, tulle, twine, and a fun brad. I love how it turned out!
The little circle/star tags are from Simply Sweet. I just doodled and stapled them onto the pictures. The adorable little pinwheels are from my super crafty friend Irene and her most recent Crafty Girls Workshop! I just added some twine, of course, and attached them with glue dots.
Here's the second page. I just flipped the photos and title.
More tags, stars, twine and tulle!
Foam adhesive was used to give the title dimension.
I also used foam adhesive to "pop" up the center photo on each page.
Thanks Tracy for another fun CJ Too Design Team project! You can hop on over to Craft Junkie Too to see all of the design team projects by clicking HERE. Happy 4th of July everyone! <3 Kristy

p.s. I'm entering this lo into the Cricut Circle Blog Challenge!

Friday, June 24, 2011

DON'T try this at home....

or you may just eat the WHOLE pan!!!!
 I was browsing the web and fell onto Bakergirl's site, and boy am I happy! When I saw her pic for these Graham Cracker Smores Candy, I thought I HAVE to try these!
My friend Bekah is in town and we decided to tackle this easy recipe last night. Here's what we started with:
Did you know that Dole now has Pina Colada juice? Just add rum, yum! Ok, back to the smores...you can get Bakergirl's recipe HERE. Spread out the graham crackers.

Heat the brown sugar and butter over medium heat for 4 minutes.


Here's my laptop with Bakergirl's website and recipe up so that I could follow along.
Spread the (delicious toffee flavor) mixture over the crackers. And bake at 350 for 6 minutes.


While that's baking break up the Hersey bars, measure the chocolate chips, and open the bag of marshmallows.
Sprinkle the goodies on top and stick it back into the oven and bake for another 6 minutes.


 The hard part is watching and waiting.....
I {love} the toasted marshmallow taste so I stuck mine under the broiler for a few minutes. Doesn't this look delish?!!


Next, you need to wait and let them cool COMPLETELY! Are you kidding?! Who can wait?? 
We did have a rather healthy dinner before our delicious dessert!


It was much easier to cut them once they were cooled! I posted a picture of these beauties on facebook last night and I thought I might have 20 or so people knocking on my door because of all the comments that were left! :)


Thanks Bakergirl for the "addicting" recipe! We can't stop eating them!!! Do you have an addicting recipe? I'd love to try it! Please leave me a comment below <3 Kristy

Linking to:

Wednesday, June 22, 2011

Flat Bread Tacos...YUM!

Hello my crafty friends!!! I have a non-paper post for all of you today! Are you looking for something EASY and delicious to feed your family for dinner?? While I was browsing the Kiwi Lane blog I found a section for "recipes." This is where I found their recipe for Flat Bread Tacos.
 I didn't have pinto beans so I substituted no fat lime re fried beans. I also did not have ranch dressing mix so I just mixed low fat sour cream and salsa. It was delish! When I was at the grocery store I also decided to substitute regular biscuits for low fat biscuits. (The hubster couldn't even tell!)
Even little Stinkerbella loved them!
Flat bread tacos were a HUGE hit in our house!
Click HERE for Kiwi Lane's recipe! When you check out the recipe please leave them some blog love and let them know that Kristy from craftin-on-my-door sent you over. ;) If you have any delish recipes please leave me a link in the comments below! <3 Kristy

Linking to:

Tuesday, June 21, 2011

Layers of Inspiration....

Today's my day to be the guest designer over at She's a Sassy Lady. If you have a moment please hop on over and leave me a comment. Here's my post:

Hi everyone! This is Kristy from craftin-on-my-door and I want to thank Sheila for allowing my to be her guest designer again today! I look forward to my monthly She's a Sassy Lady posts! I have a fun tutorial for you today! Have you heard of Kiwi Lane Designs?
My sister-in-law introduced me to these fantastic products! The super crafty ladies over at Kiwi Lane Designs sent me some of their fabulous products to play with. They have fantastic templates for scrapbooking and card making! Here are just a few of them:
I am LOVING the large brackets and the photo sets. You can watch a video tutorial HERE on their website. I started out by placing the bracket templates where I wanted a bracket, and then played around with the photo templates. I LOVE how they give you multiple photo templates of the same size. I also love the small photo templates.

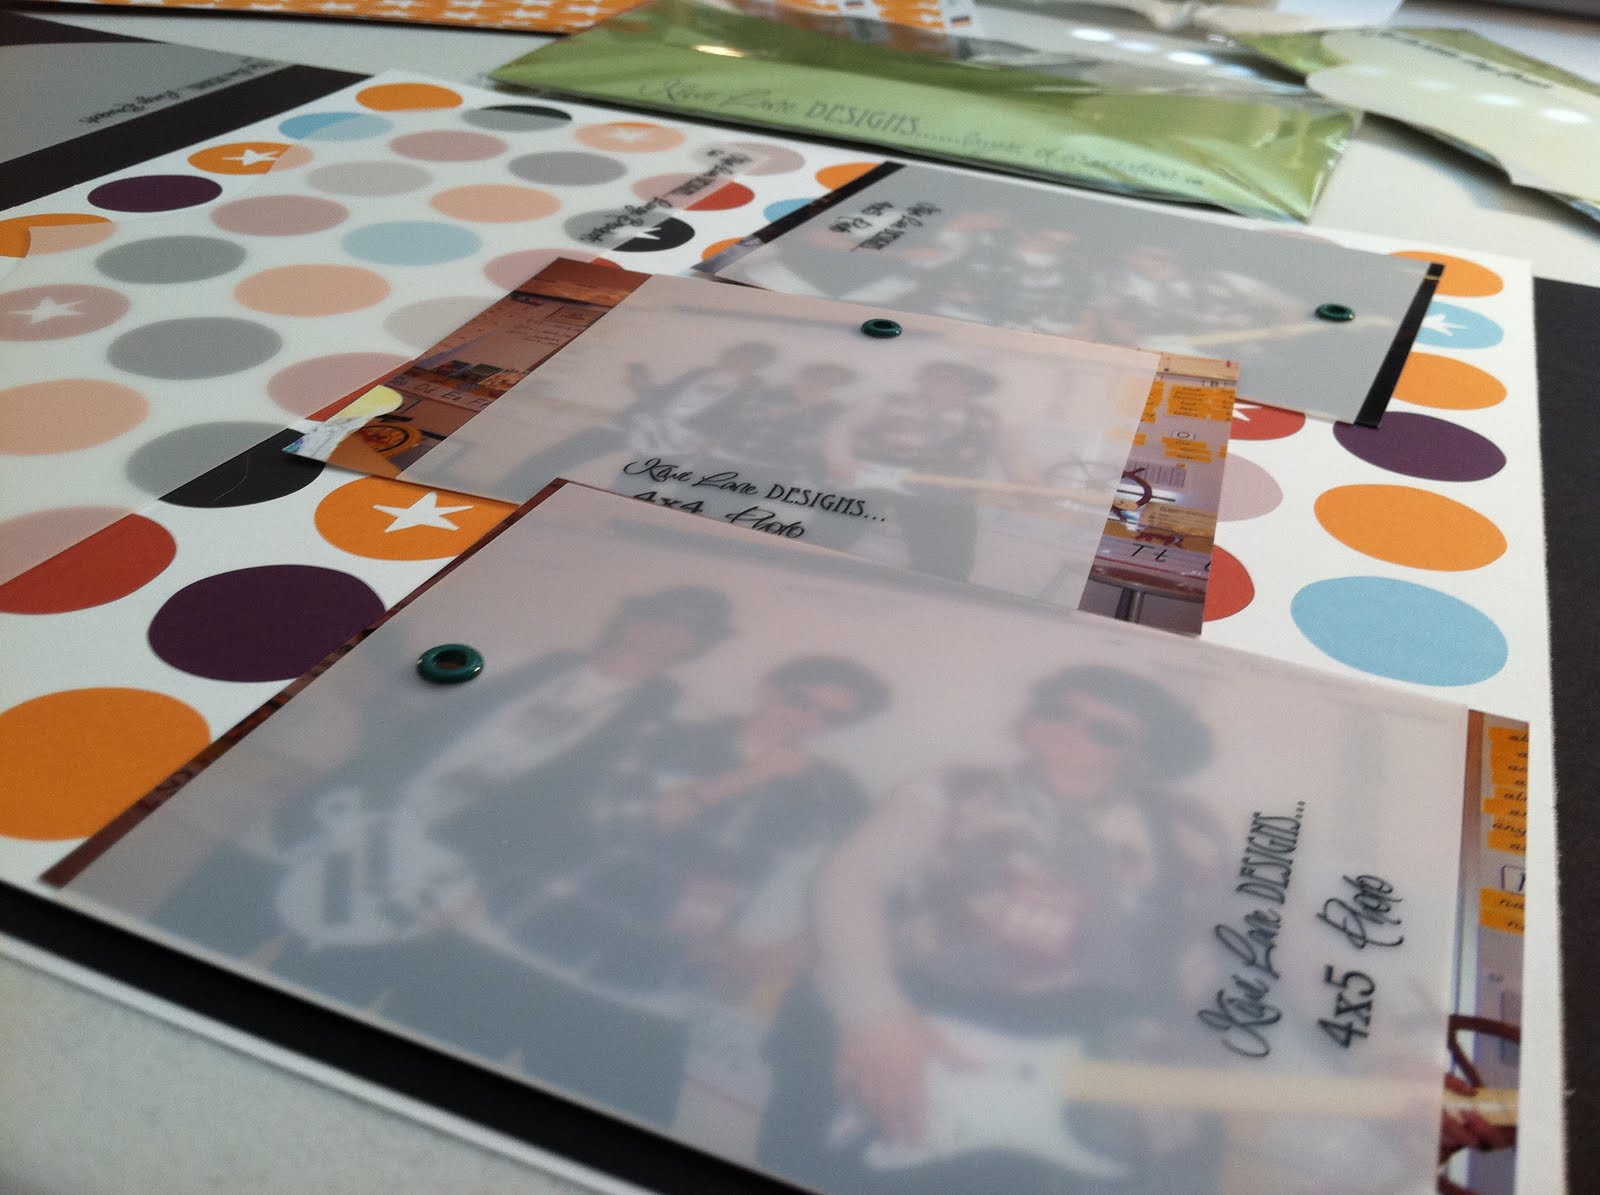
(Disclaimer....this is a LONG awaited Halloween scrapbook page, as a second grade team we decided to surprise our classes and dress up as the Jonas Brothers. We looked horrible, and decided that we were more like the "reunion tour," but we had a great time and our students LOVED it! Please don't be scared!)

Here are the bracket templates:
As you can see with the photo templates you can place them right on top of the photos. This lets you see if the size is right for the photo you are using and if they will all fit on the page.


The templates have the photo sizes printed on them.
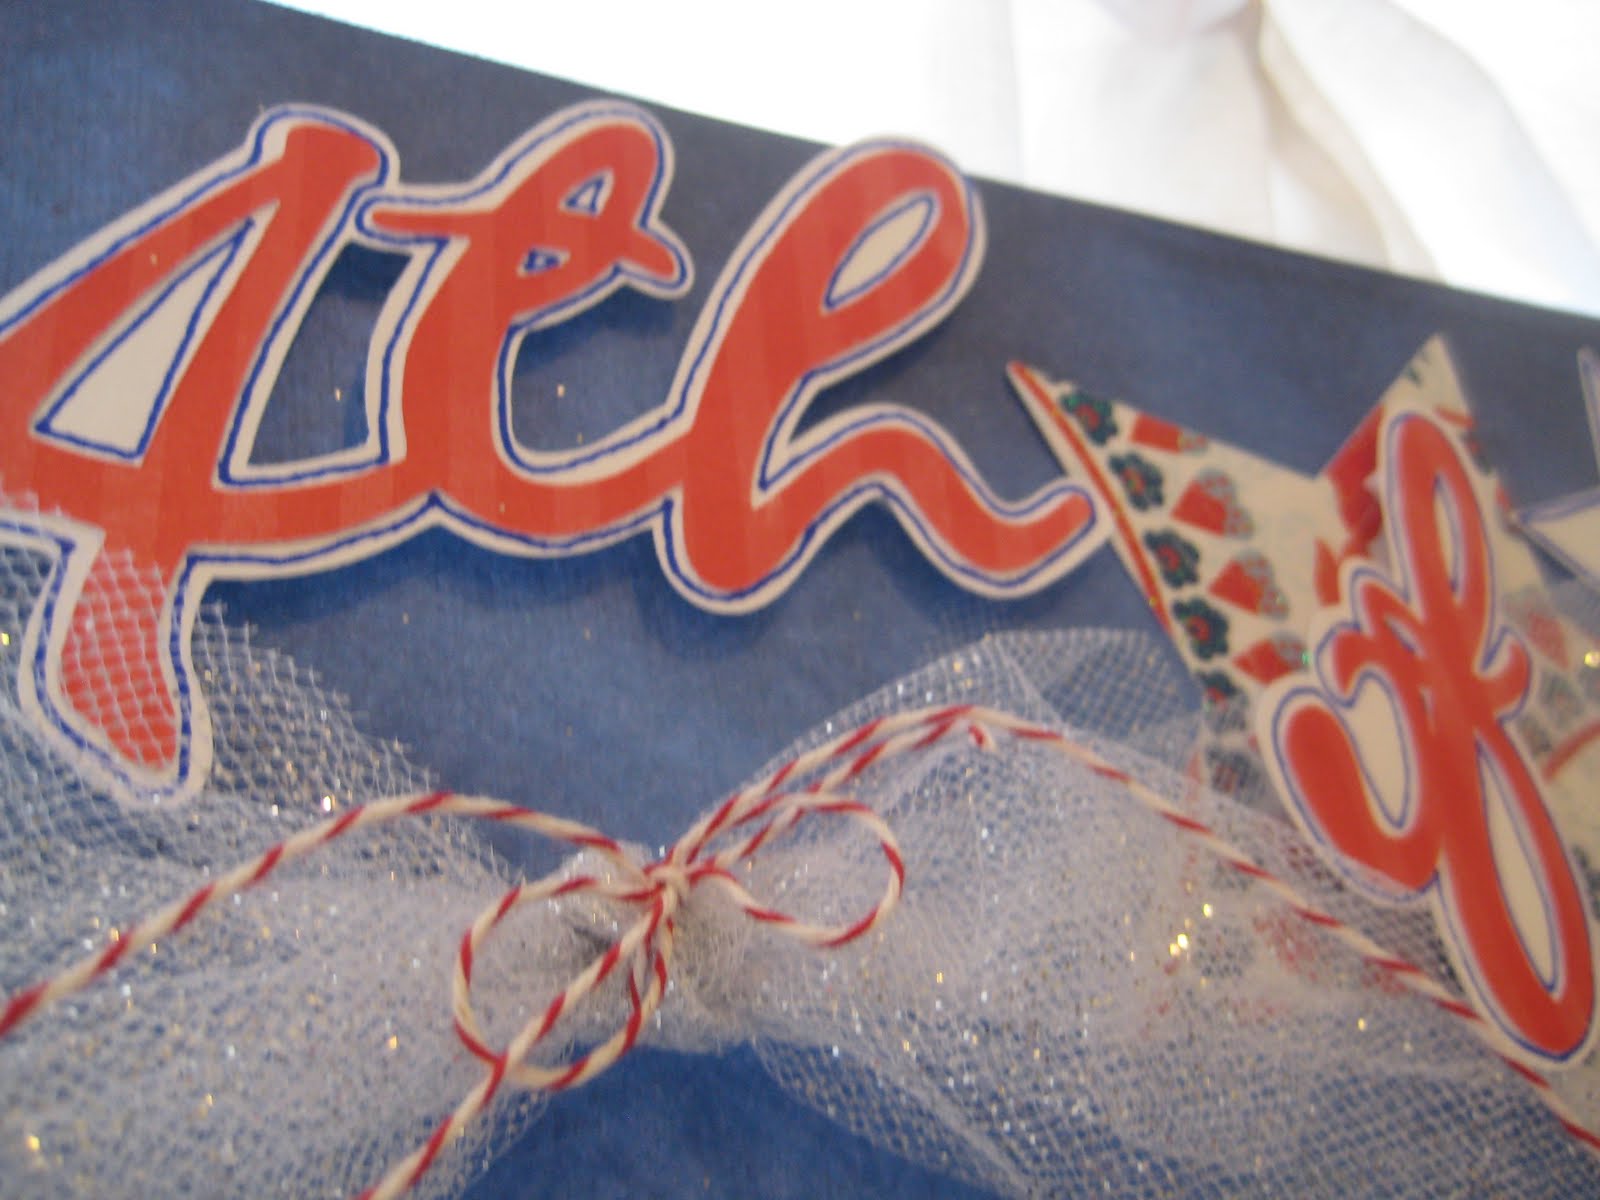
After I decided on picture placement I chose the bracket (which are 12 x 12!), flipped it over, and traced it onto the back of my pattern paper.


I decided that I wanted a shadow for this bracket so I traced, just the front part of the bracket, onto black paper.
Next I put down a line of Zips glue and ruffled black crepe paper for a border.
 Then I added a strip of blue paper and and a border by K & Co.
I used my friend's Gypsy and her Hannah Montana cart to cut a title. I glued the title down and then doodled around the "J" and the "B."
I then measured and cut my photos according to the photo templates. I also matted my pics with coordinating paper.  I glued the top and bottom picture straight to the page, and then used foam adhesive to "pop-up" the middle picture. I also added K & Co. stickers and Making Memories buttons to the page.


Next, I added twine and a fun Halloween pin to the title and glued it down.


Here's the final page (remember don't be scared!)....
I love how it turned out! A new scrappy friend of mine, Jayne, wanted to play around with the brackets too.  She need a way to showcase some brochures from a friend's trip to Hawaii. We used a bracket and made it into a pocket.
She also wanted the the second page to coordinate so she used the same bracket to match.
As I said my fantastic sister-in-law, Kali, introduced me to these great products. She also wanted to make a double page spread for one of her daughters. I LOVE this page!!!! She started out with brackets and then also shadowed them and added some doodling.

She added a title, from Rock Princess, and attached it to a silver star she had from another daughter's birthday party.
Then she played around with the photo templates.
Even after playing around the great thing about these templates is that you can always change your mind!!! She decided to go with larger size pictures down the side.

Don't you just love the colors and the doodling?!
These templates are fantastic for scrapbook layouts and cards alike! They make designing sooooo easy! If you would like to see video tutorials and all the Kiwi Lane products click HERE, and let the crafty ladies know that Kristy from craftin-on-my-door sent you their way! You can also check out their blog HERE.

Thanks for stopping by today! I hope I was able to introduce something "new" to many of you!  <3Kristy