Thursday, February 24, 2011

My Cricut and My Classroom

I just realized that I never showed you pictures of items that my trusty Cricut helped my make for my classroom. Later is better than never.. :)
Here is my word wall:

Here is my daily schedule:
*I made different surfboards for parts of the day and specials. I added a  magnetic strip to the back so that I can change them daily, and add them to my board.
Here is the bulletin board outside my classroom. I used the 12 x 24 mat to make each student a surfboard. Then, I printed a label with their name on it, attached it to the top of each board, and laminated them. Every time I put a piece of their work out on the board, it gets stapled onto their surfboard. This way the parents always know where to look for their child's work.
I used a few of my favorite cartridges for these cuts: Life is a Beach, an Ocean of Words, and Cherry Limeade. **And thanks to my friend Tammy for letting me borrow her palm tree, little hula girl, and surfin' boy! (She made these from stamps that she has!!!!)

I hope you enjoyed a little piece of "Surfin' through second grade!" Have a great Friday!

Monday, February 21, 2011

Luck o' the Irish LO

Yes, I am behind in my scrapbooking, but I got this page finished before this year's St. Patty's day!
I used the Celebrate with Flourish cartridge for the title, and shamrocks.
 
 Last, I added some fun floral ribbon, glittery ribbon, and twine! I love the mixes of greens, and pinks for this holiday!


Have a great day everyone! The "green" day is comin' soon, and I am hurry to get my St.Patty's banner done! 
<3 Kristy

Saturday, February 19, 2011

Our Little Monkey LO

Hello my crafty friends! Here is a QUICK post to show you a lo I did of the little Stinkerbella.  Bananas were her first "grown-up" food, and she {LOVED} them!
The first page:
For the title I used Thickers and letter stickers, and layered them.


The monkeys and bananas are all from the Create a Critter cartridge. I used tiny Primas, and my i-rock to add some bling!


The second page:


 I even added an American Craft journaling square. It matched part of the title perfectly!


I am adding this lo to Frosted Designs Fabulous Friday Challenge...NO pattern paper allowed! (Wish me luck :)
*I am also adding this to the Cricut Circle blog challenge!

 Thanks for stopping by today! I hope you all have a crafty 3-day weekend!!!! <3 Kristy

Friday, February 18, 2011

"more" Polar Express Final LO

Hello my crafty friends! I finally put the finishing touches on my Polar Express layout, a couple of weeks ago. I liked it how it was, but I am a "more" is better type of scrapper and I just had to add some more! Thank you everyone for your kind comments regarding these pages and the Gypsy download. If you need the before download you can go HERE to the previous post. Here is the before picture:


And here is the LO with "MORE"....
Using the same title pieces I had cut out I started by adding a banner that I got off of the April Showers cart (you have to hide/contour the letters in spring), but now I have the Birthday Bash cart and you can use one of the fabulous banners on here instead.
  
I used our commemorative tickets for a backdrop for my journaling and then doodled around the edges of my journaling.
I found some "swirls" and Michaels and thought that they would add a little whimsy/snowy effect.
 I also doodled around one of the pictures on each page.

I hope you enjoyed my "more"! Have a crafty 3 day weekend! I'm going to an all day crop on Saturday and can't wait to get my craft on! <3 Kristy

Tuesday, February 15, 2011

Glam Baby LO

Here is my guest designer post for She's a Sassy Lady:

Hi everyone, this is Kristy from Craftin-on-my-door, and I want to "THANK" Sheila for allowing me to be the guest designer again, on 
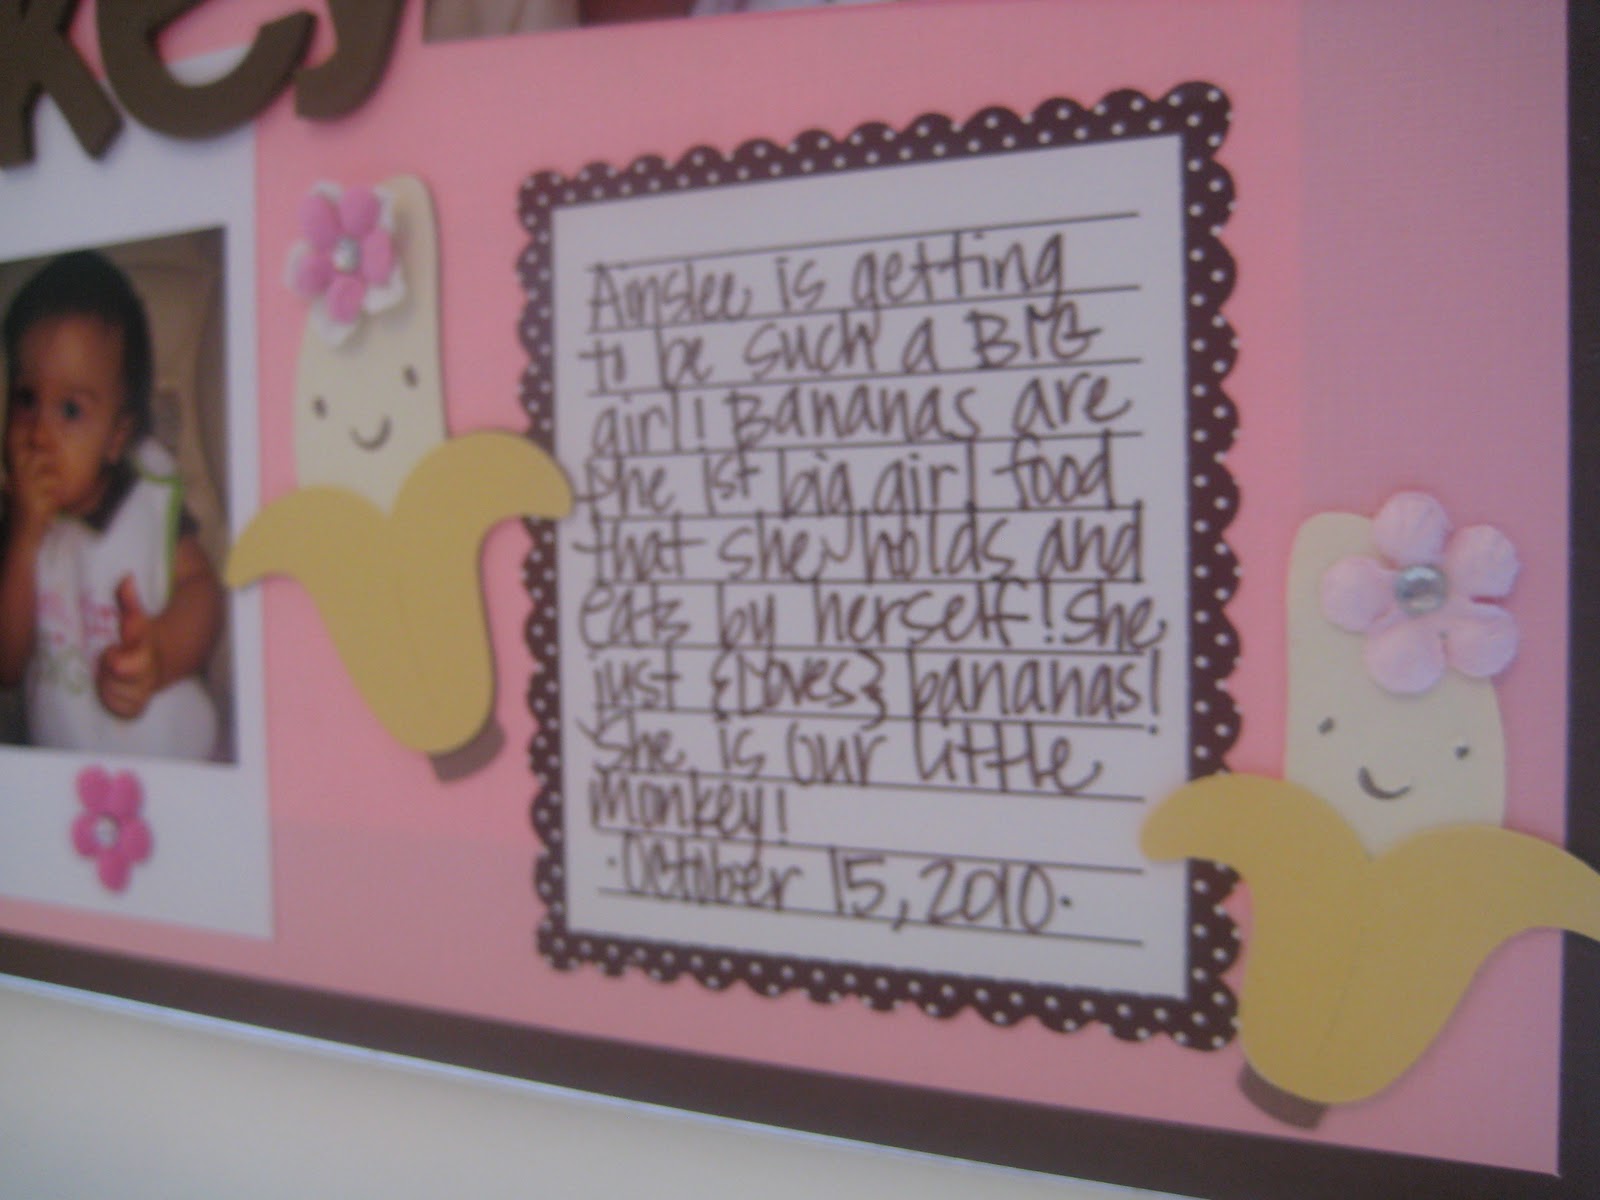
She's a Sassy Lady! I hope you all had a fabulous Valentine's Day! Today I decided to show you a layout I did of my little Stinkerbella. For Christmas we decided to "get out of town" and celebrate with my husband's parents in Pismo Beach, CA.  One afternoon we took a short drive to San Luis Obispo, and walked around the shops downtown. We got lucky and found a fantastic craft store called Beverly's! This is where I found these adorable flowers, and KNEW they would go perfect with this layout!
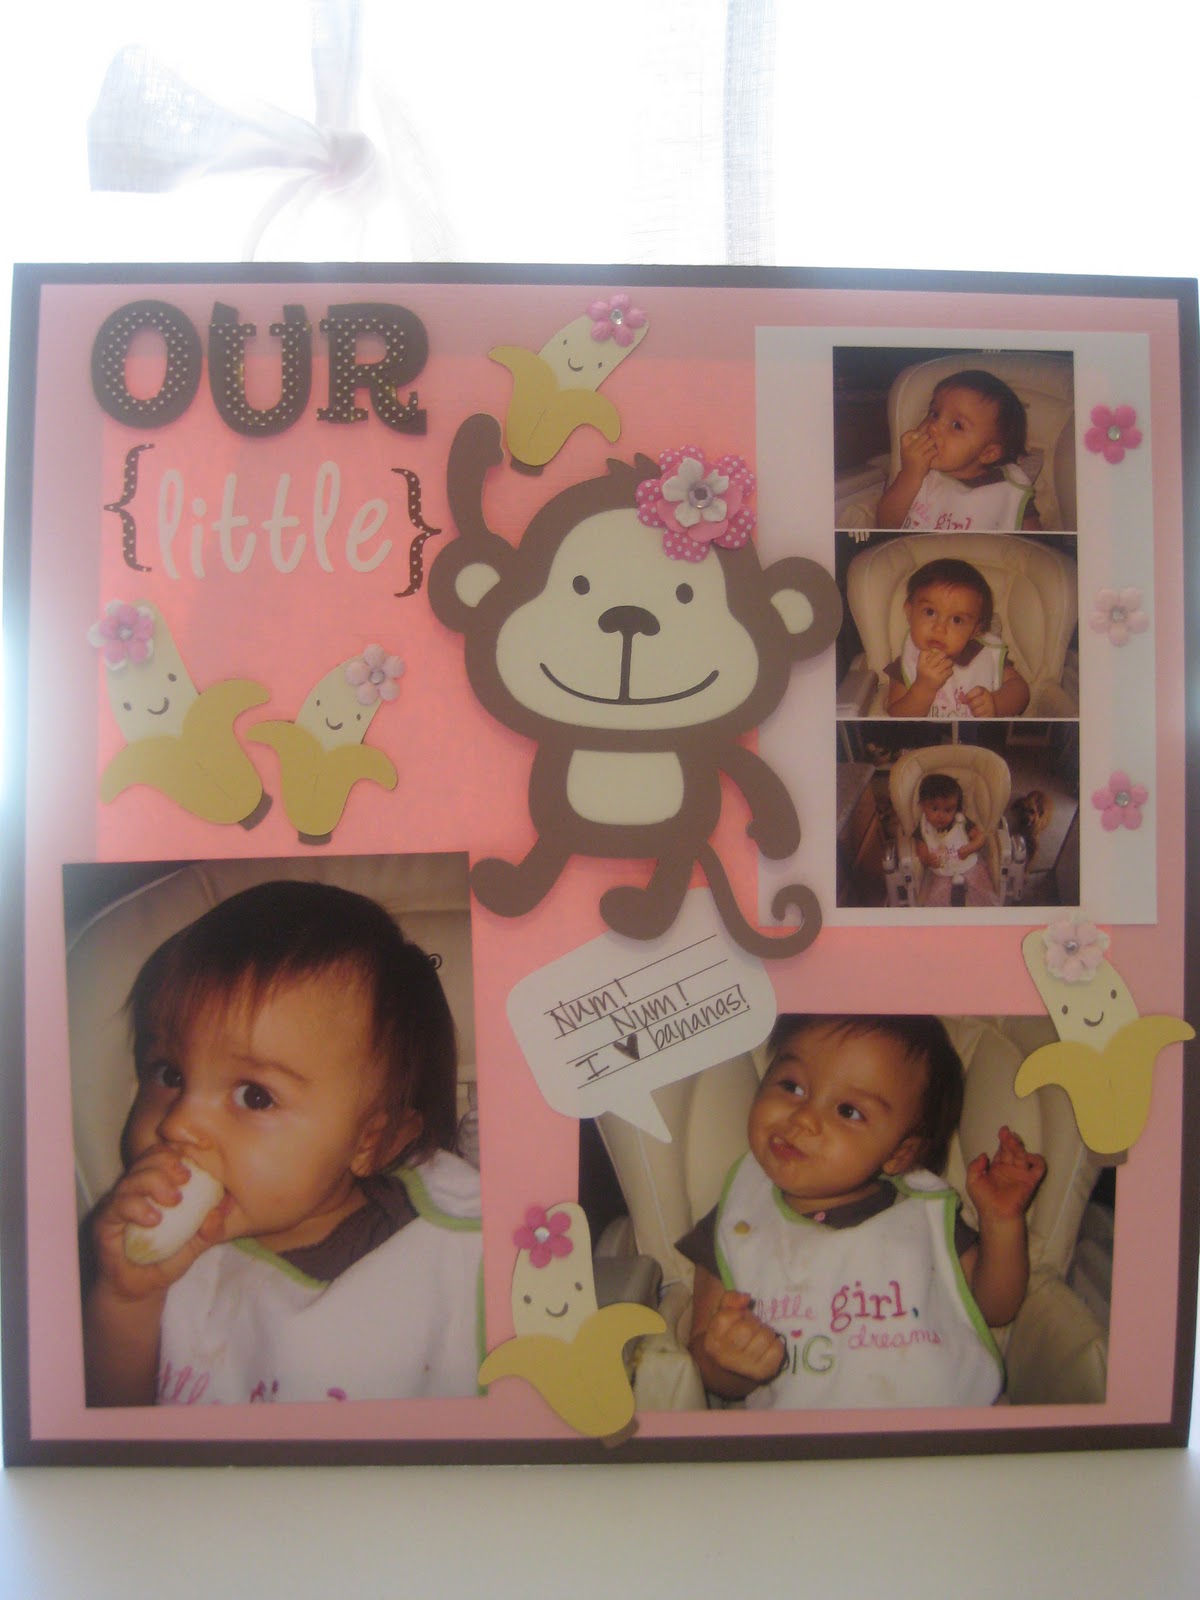
Here's the layout:
Have I told you how much I {heart} my Cricut?! For the titles I used Rock Princess.
The Glam Baby is from page 36. I cut all the layers at 4.76" using my Gypsy.
Then I doodled around each letter on the top layer, added some baker's twine, and popped it up with 3D-dots.
The Sweet is from page 40. I cut all the layers at 2.06" using my Gypsy.
Again, I doodled around each letter on the top layer, added some baker's twine, and popped it up with 3D-dots.
The "SO" was cut using the Country Life font. I unlinked the width and height on my G and cut it at 4.43" by 1.75", in order for it to look like the Rock Princess titles. I also doodled around the s and the o.
I used a corner punch (on 2 of the photos), doodled, added some twine, and then popped them up with 3D-dots. I also used dots to pop up one picture on each page.
Next, I added some hot pink tulle, big "blingy" brads, and some more twine.
Lastly, I added the felt flowers around each page.
I put this layout together a couple of weeks ago, and realized...hey, I can make those stinkin' cute flowers! All you need is some different colors of felt, buttons, string, and a needle.
First, cut 3 sizes of circles (they do not have to be perfect, I think they look even better a little wonky!). Then, cut 2 stem shapes for each flower and sew them together, adding the button on top! It's that easy! I wished that I had had a thimble when doing this, there were times when I needed to really push the needle through all of the layers. Here's what the back of the flowers look like:
FYI, 3D-dots held these flowers down, the best! I want to make some and turn them into clips for my little Stinkerbella's hair! Thanks for joining me today, and if you haven't ventured into making your own embellishments yet, I hope you will give it a try! <3 Kristy 

Sunday, February 13, 2011

Valentine's Day!

Hello my crafty friends! Happy Valentine's Day to each of you!
Here are the little V-day treats that I made up for all of the students in my class, and also some for my friends:
I used my SU scallop circle punch to punch out the tissue paper flowers (tip...fold the tissue paper in half and cut out a bunch at a time). Then, I typed out my sentiment and cut them into a leaf shape. Next, I punched a hole in the flowers and the leaf, and then threaded them onto the lollipop. Last, I tied sparkly green ribbon or pink tulle underneath (to keep all the pieces in place)!


Here is the bag full of the sweet goodies:


I also wanted to show you the Valentine that I put together for my hubbie (I'm entering this into the Cricut Circle's Weekly challenge):


I used the Birthday bash cartridge and cut the "stamp" card out at 10". Then I cut the snail and all it's pieces at 3.75". I embossed the envelope with a Cuttlebug folder.


I added a heart brad, and 3-D dots to pop the snail off the card. Then I stamped the snail with a My Creative Time stamp set You Had Me at Chocolate (omg! This set is adaorable!). Last, I added ribbon, threaded a button with twine, and tied it around the bow!
I hope you all have a fabulous Valentine's Day!
{heart} Kristy