Tuesday, April 17, 2012

Sushi & Donuts layout...

Today's my day to be the guest designer over at She's a Sassy Lady. If you have a moment please hop on over and leave me a comment. Here's my post:

Hi everyone! This is Kristy from craftin-on-my-door and I want to thank Sheila for allowing my to be her guest designer again today! I look forward to my monthly She's a Sassy Lady posts!

Today I have step by step pictures of how I put a layout together. These pictures just crack me up! Little Stinkerbella likes to do certain things. For example, whenever she has a doctor's appt. and has to get shots I let her pick what and where she would like to go for lunch. The past two times she has picked sushi and donuts! Of course I had to preserve these memories! ;)
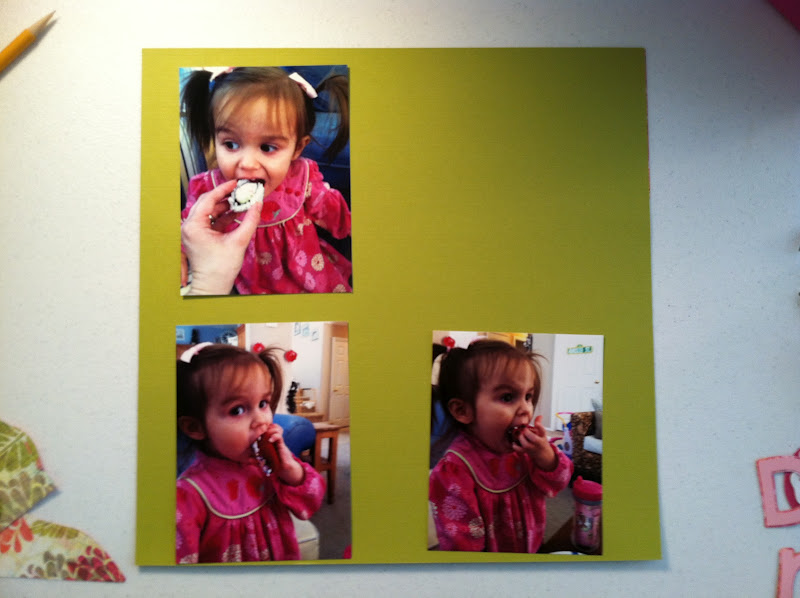
I started by placing my 3 photos onto the page.
 The background piece for the title is from Graphically Speaking and was cut at 6.74" in width and 6.50" in height. Then I tied twine around it and attached it to the page. I also picked which Kiwi Lane Design templates I wanted to place onto my page.
 I took one template off at a time and traced them onto my papers. For the grey shadow, I traced the template, cut it out, and then cut it down the middle.
 For the title the word "Sushi" is from the MS Birthday Cake cart and was cut at 2.25". The word "Donuts" was cut from the Birthday Bash cart at 2". I thought it would be cute to have the "o" in donut be made out of a donut! The donut is from Slumber Party, was cut at 2.25", I also added some Glossay Accents to the frosting, and used foam adhesive to pop it up. The "&" sign is from Sugar and Spice and was cut at 7.15".
 Then, I attached the title onto the page.
 Next, I attached the pictures onto the page and used a fun SU punch to add a tab to one of my pics.
 I used a mixture of rub-ons to put the date onto my page.

 I also used a grey marker to add some journaling, straight to the page.
 I also added some small round stickers that said, "YUM!" to the tab.

Thanks for stopping by today! I hope you all get some scrapping time this week! ♥Kristy


Wednesday, April 11, 2012

Baby Shower favors...

Hello My crafty friends!!!! Today is a Crafty Junkie Too DT day! Today's project centers around "Earth Day!" We were asked to make a project using recycled materials, whatever we have on hand. So I started saving up on toilet paper rolls, and came up with these cute little baby shower favors for one of my friends at MOPS.
 Started with these...
 and printed off some of my favorite papers from the Teresa Collins Baby Boutique cartridge.
 Then I wrapped the rolls with white tulle and tied off one side using some twine.
 Next, I cut the paper into strips at 4.25" x 6".
 I wrapped these pieces around the tulle and attached them together.
 Next, I typed up a cute little sentiment on my computer and punched the pieces out with a couple of my favorite punches.
 Stand the rolls up on their side and stuff them full of delish kisses and hugs!
 Then you can tie the other side up with twine.
 The last step is to put the sentiment onto the favors, and that's it! ;)
 I think they turned out pretty cute and the new mom loved them too!


Thanks for stopping by today! Go ahead, click HERE to head on over to Craft Junkie Too to see what the other design team members have created for today's project! ♥Kristy 

Friday, April 6, 2012

Easter Pail...

Hello my crafty friends and Happy Easter weekend! I wanted to show you a quick craft that Little Stinkerbella and I put together this morning! I realized that she did not have anything to hold the eggs she finds at the egg hunt so while on a trip to Michaels I picked up this cute sand bucket for a buck!
 And I turned it into this...
I used the MS Birthday cake cart for her name, and of course added a heart to dot the "i." It was cut at 2" high and 5" wide onto white vinyl.
 Here is the name being centered onto the pail with clear contact paper. (I actually cut the name 2x and put one on the front and one on the back of the pail.)
 Make sure you get some little hands in there to help you burnish it onto the pail! ;)


 Little Stinkerbella helped me tie some tulle and pink ribbons onto the handle! Just the girly effect we were looking for! ;)

 When we were finished she grabbed it, hugged it, and said "I Wuv it!"
I love how quick this pail came together and realized these could be made for MANY different occasions! How cute would these be for party favors?! Thanks for stopping by today and remember Easter is not just about the bunny and eggs...

I just have to share a great quote that our Pastor said in church tonight..."Easter reminds us that no matter what we have going on we have something GOOD to focus on!"
♥Kristy

Wednesday, April 4, 2012

the castle layout...

Hello my crafty friends! In December we were lucky enough to take Little Stinkerbella to Disneyland for her first time. IT WAS MAGICAL!!! I have a bunch of Disney layouts I need to post, but here's the first one...
 I started this layout with the help of an adorable sketch by Jana Eubank! I loved the banner on this sketch and thought it would be perfect for these pictures!
I used my Cricut and the Wrap it Up cart for the castle, Mickey Font cart for the Mickey heads, and then welded two triangles together and folded them over for the banner. I also added some Making Memories snowflakes and heart brads. The title is a mix of Thickers and Glitz letter stickers.

Thanks so much for stopping by today! I'm hoping for some time to take pictures and write up some blog posts of all the Disney layouts that I've put together so far...but please be patient my 2 year old is BUSY!!! ;) ♥Kristy