Tuesday, September 21, 2010

Guest Designer Day at She's a Sassy Lady!

{This is my guest designer post for She's a Sassy Lady}

Hi everyone this is Kristy from craftin on my door, and I love to "spruce" things up. I like to find things, craft away, and make them my own creations!

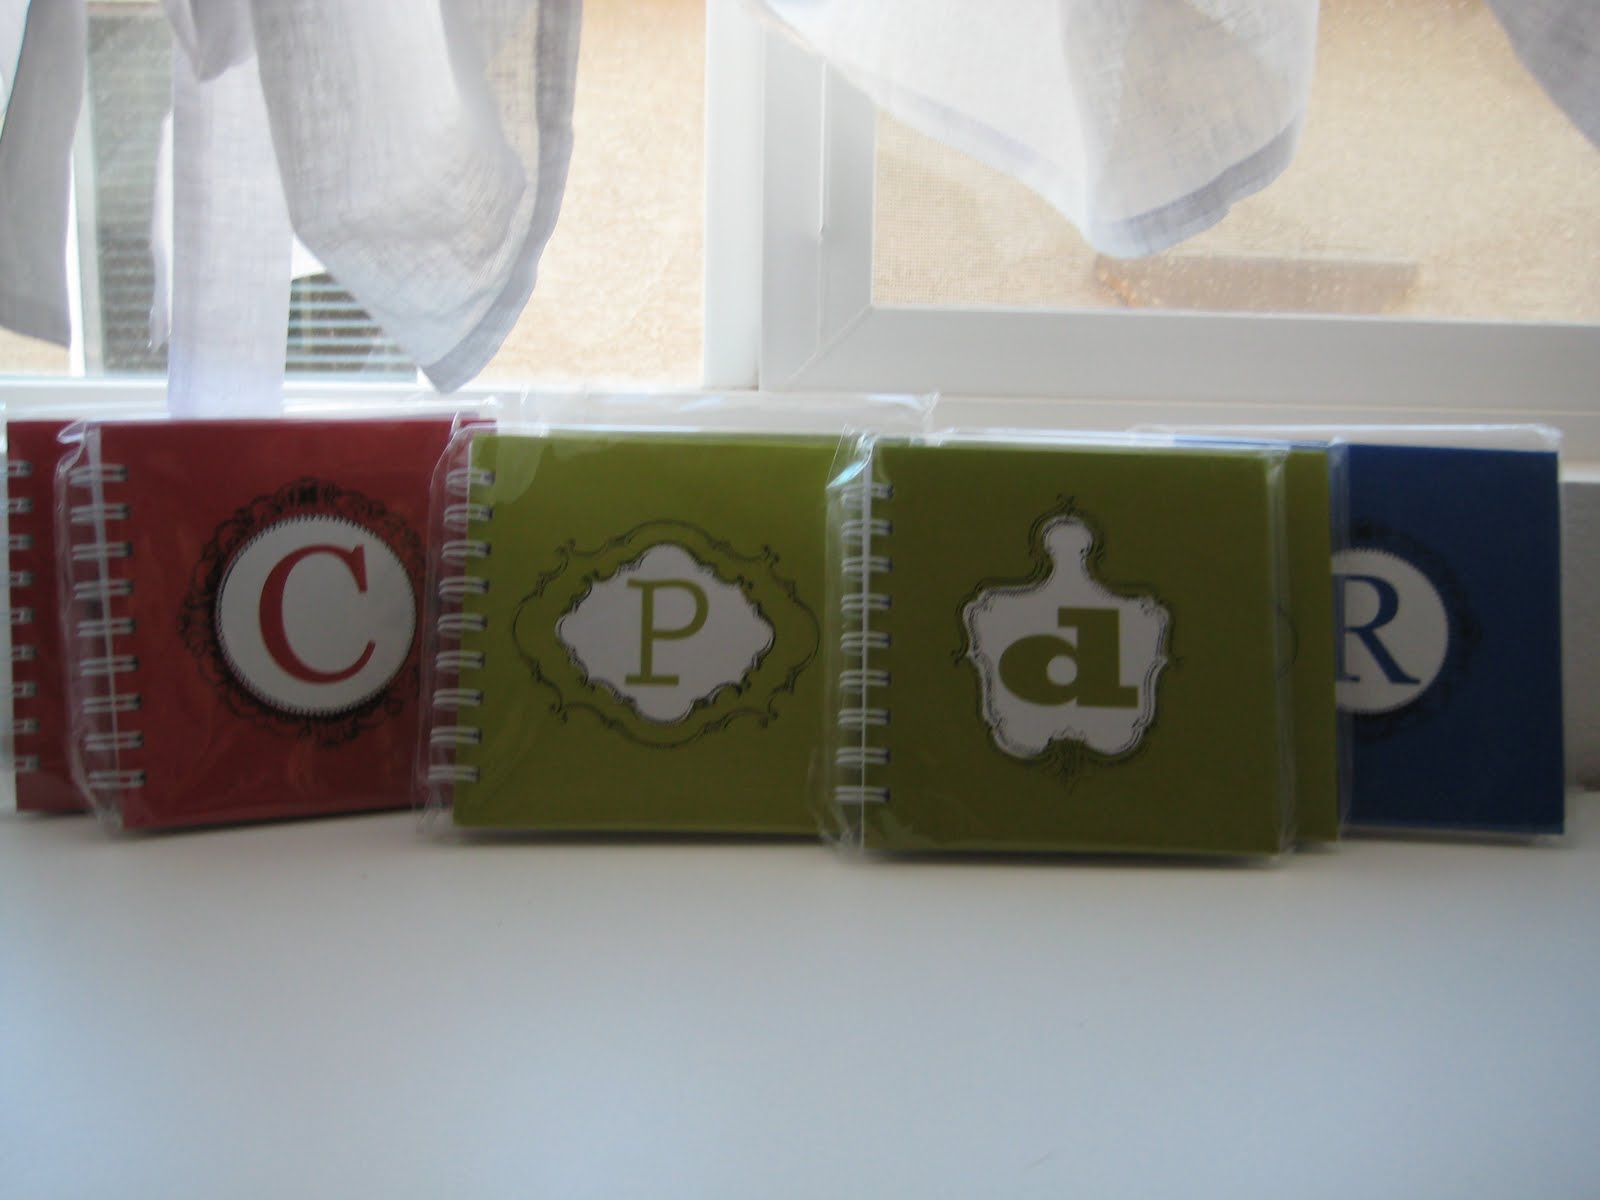
I'm a teacher and at the beginning of each year I look for something to make for the other teachers on my team and a few extra friends. This year I found these in the dollar bin at Michaels:
They are perfect to keep track of parent phone calls or communications. I liked the colors of the little notebooks, but they did not have the right initials on them. Here comes the "sprucing!" Before I show you what they look like now, I have a little back story for you. Do you ever get a little frustrated with someone at work or home? Do you ever just have "one of those days?" Well, when I have repeated myself 3, 5, or more times, or get a little frustrated with a co-worker I just say a little word that puts a smile on my face. I shared this with my team and friends and we help each other out by saying this word to each other. The word is "cupcake!" Try it next time, and you will see. :) I must have said this a ton last year, because when one of my kindergartners was asked, "What's something that Mrs. Luccketta says a lot?" He said, "cupcake!" (It's in the end of the year scrapbook they made for me.) Back to crafting, here's what they turned into with a little "sprucing" from me:
Of course I had to make one for myself, too!
I started by using kraft paper from JoAnns and my trusty Gypsy.
I used a scallop square from Mini Monograms and made the height 5.29". Then I picked up a circle from Accent Essentials and made the height .55". I put a circle in each scallop and then welded it together. Next, I used the "duplicate" button to make as many as I needed to cut.
I then used a DCWV paper pack to cut out the rounded corner squares. This square is from Slumber Party (it is a charm layer) and the height is 3.78".
Next, I used Feeling Groovy and DCWV glitter paper to cut out the names that I had welded.
One of my fav cartridges right now is Rock Princess, and that's where I got this adorable cupcake with crossbones! The cupcake and crossbones are on page 77.
*Cupcake and bones-2"
*Frosting- 2 1/4" (I liked the way it layered better)
*Liner-2 1/4" and then I ran it through my crimper
*I wanted to give the cherry more dimension and make it bigger so I used the "layer2" feature and cut them at 5 3/4" with red glitter paper.
I tied twine around the liner part of the cupcake and then used 3D dots to "pop" the cupcake on the crossbones.
The names, frosting, and cherries are all cut on glitter paper. I wish you could see how sparkly they are, but the pics just don't do them justice! ;)
 
I hope you liked my little "sprucing" up project (my team and friends LOVED them!). Thank you Sheila for allowing me to be a guest designer today! Please hop on over to my blog anytime: craftin-on-my-door.blogspot.com

Happy craftin' to all! ;) Kristy

4 comments:

mfc.melissamade2 said...

Kristy - these are just too cute and you are so sweet to give all of the teachers on your team one!!! Thanks for sharing a beautiful project!
Melissa

Barb Craft said...

These are fabulous!! And covering up the intitials is a great idea... you can usually get some pretty good deals on ones the stores couldn't sell because of the letter on them!! And your story about having a "word" is great.... I used to be a teacher... sometimes you need those small little things to get you through a day!! lol!!
Barb :)

Sheila aka SassyLady said...

Love your little books and the best thing that happened to them was you covering them up! What wonderful gifts they make. TFS

Amy Lattin said...

I love your project! I may have to make one for my secret pal at work.

BTW I can to find your blog through my husband. Your husband and my husband work together at S.E. Apparently about a week ago they were talking Cricuts and scrapbooking together. I would have loved to have been a fly on the wall that day. :)