Showing posts with label Gypsy wandering. Show all posts

Wednesday, June 29, 2011

CJ Too Design Team Project

Hello my crafty friends! I just {love} red, white, and blue...don't you?!  Today's Craft Junkie Too Design Team project theme is Hooray for the Red, White, and Blue.

I am still trying to stay up with my New Year's resolution...my goal is to scrap last year's holiday or occasion before the holiday or occasion occurs this year. Now, I can check off 4th of July!!! Here's what I came up with:
I used the Gypsy Wanderings and Simply Sweet Cricut cartridges for this layout.
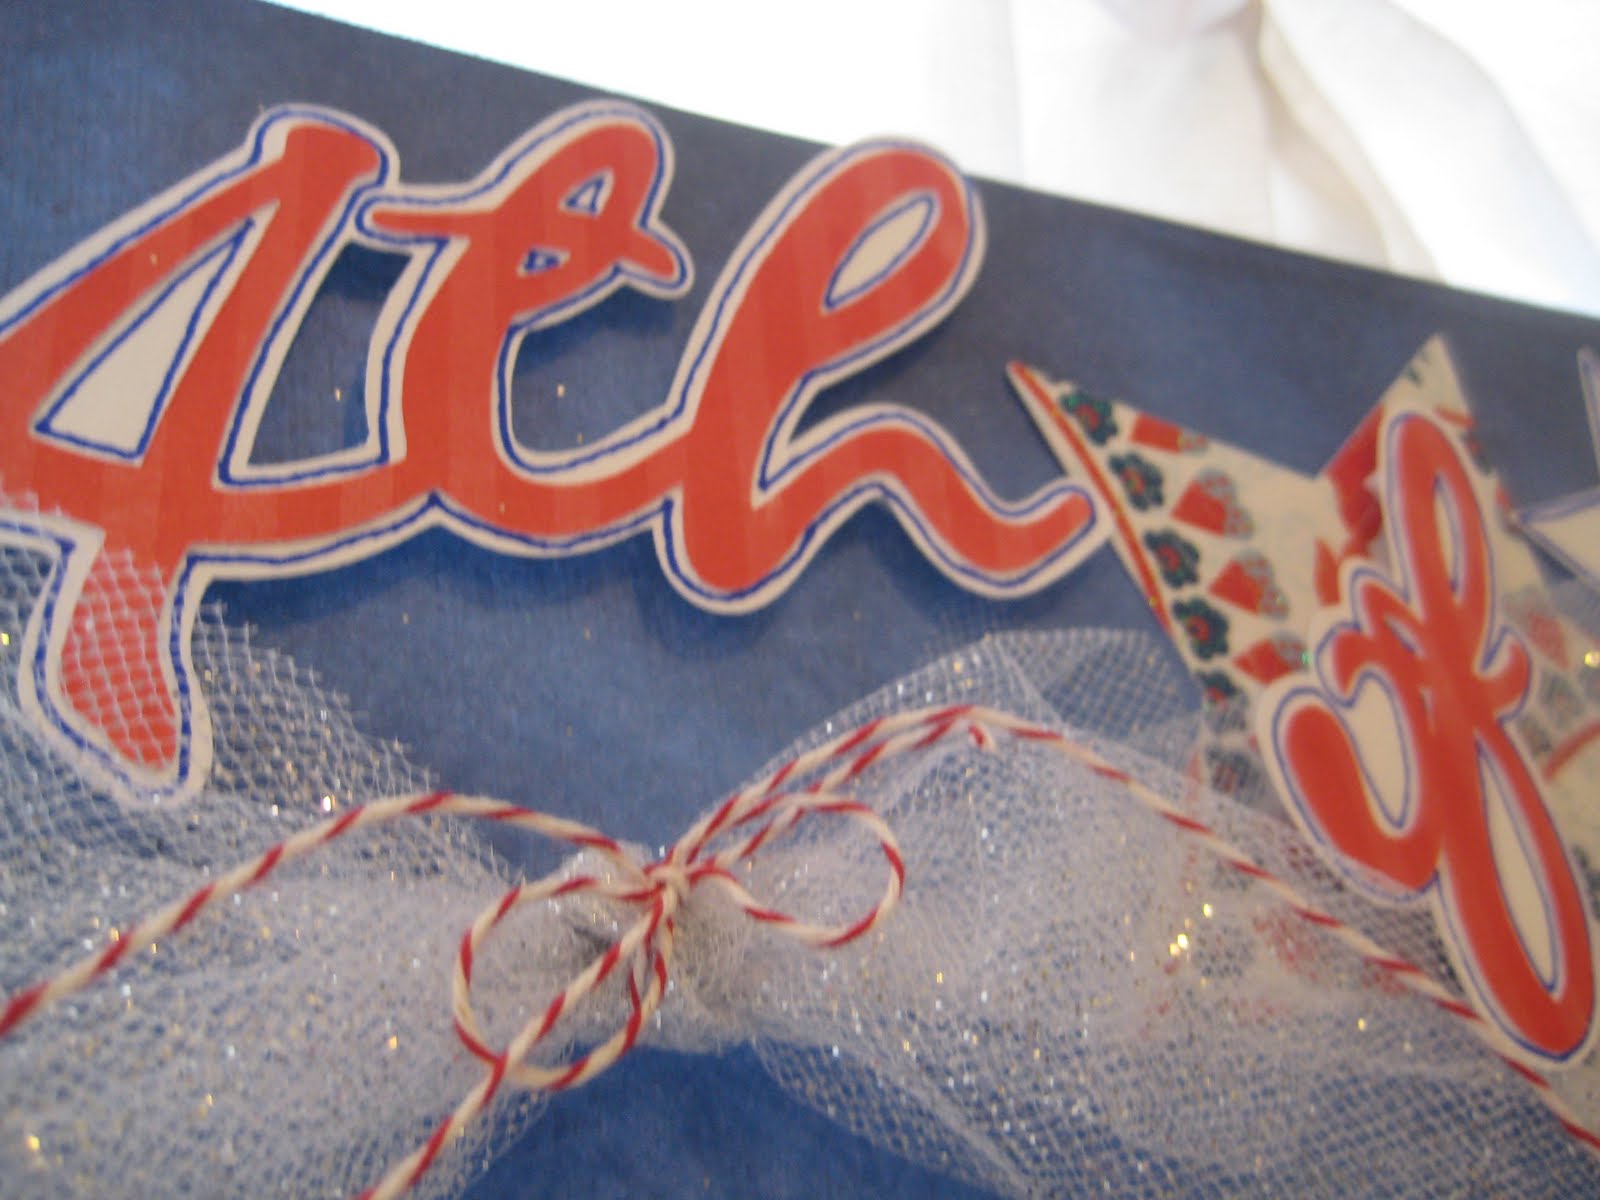
I also did a TON of doodling on these pages! I like how it makes the title and cut outs rally "pop!"
The tulle is a glittery tulle from Hobby Lobby. It really adds that sparkle that all 4th of July pages need. :) Some of the stars are placed under the sparkly tulle and I used glue dots to glue some of the stars on top of the tulle.
I totally "lifted" this cute idea from my fantastic sister-in-law (who moved back to Utah, Boo-Who!). She had some red foil stars left over from a party. We added a crumpled and doodled circle, tulle, twine, and a fun brad. I love how it turned out!
The little circle/star tags are from Simply Sweet. I just doodled and stapled them onto the pictures. The adorable little pinwheels are from my super crafty friend Irene and her most recent Crafty Girls Workshop! I just added some twine, of course, and attached them with glue dots.
Here's the second page. I just flipped the photos and title.
More tags, stars, twine and tulle!
Foam adhesive was used to give the title dimension.
I also used foam adhesive to "pop" up the center photo on each page.
Thanks Tracy for another fun CJ Too Design Team project! You can hop on over to Craft Junkie Too to see all of the design team projects by clicking HERE. Happy 4th of July everyone! <3 Kristy

p.s. I'm entering this lo into the Cricut Circle Blog Challenge!

Tuesday, September 28, 2010

The Gala layout

Remember that She's a Sassy Lady guest designer post that I did a while back? The one where I showed you how I add more pictures to my pages?

I used Fabulous Finds "hinges." You can click HERE if you missed that post.
 This layout has been sitting on my door for weeks, and 90% of it has been done! Well, I finally found a couple of minutes the other night and finished it! Drum roll please............
This is definitely a more clean and simple layout for me, but I like it! 
I used my Gypsy to plan the layout and then moved the pieces to different tabs in order to cut them by color.
I also used my gypsy to weld the letters (from Lyrical Letters) together for the title and the date.


The flowers and border are from the Gypsy wanderings. I cut multiple flowers so that I could layer them for more dimension. I also added a little bling to the middle of each flower.


On the second page of my layout you can see that I was able to put "5" pictures just on this one spot!


For my journaling I made a text box in Word, changed the background to black, and then changed the text color to white.


Paper Recipe:
*The Black and the White shimmery background paper-Recollections
*Silver shimmery-Recollections
*Purple-DCWV
*Pattern background paper for the "small picture holders"-Me & My Bid Ideas paper pack

Sorry it took so long to post this LO, but I hope you enjoyed it! Have a great day all my crafty friends! ;)

Tuesday, September 21, 2010

Guest Designer Day at She's a Sassy Lady!

{This is my guest designer post for She's a Sassy Lady}

Hi everyone this is Kristy from craftin on my door, and I love to "spruce" things up. I like to find things, craft away, and make them my own creations!

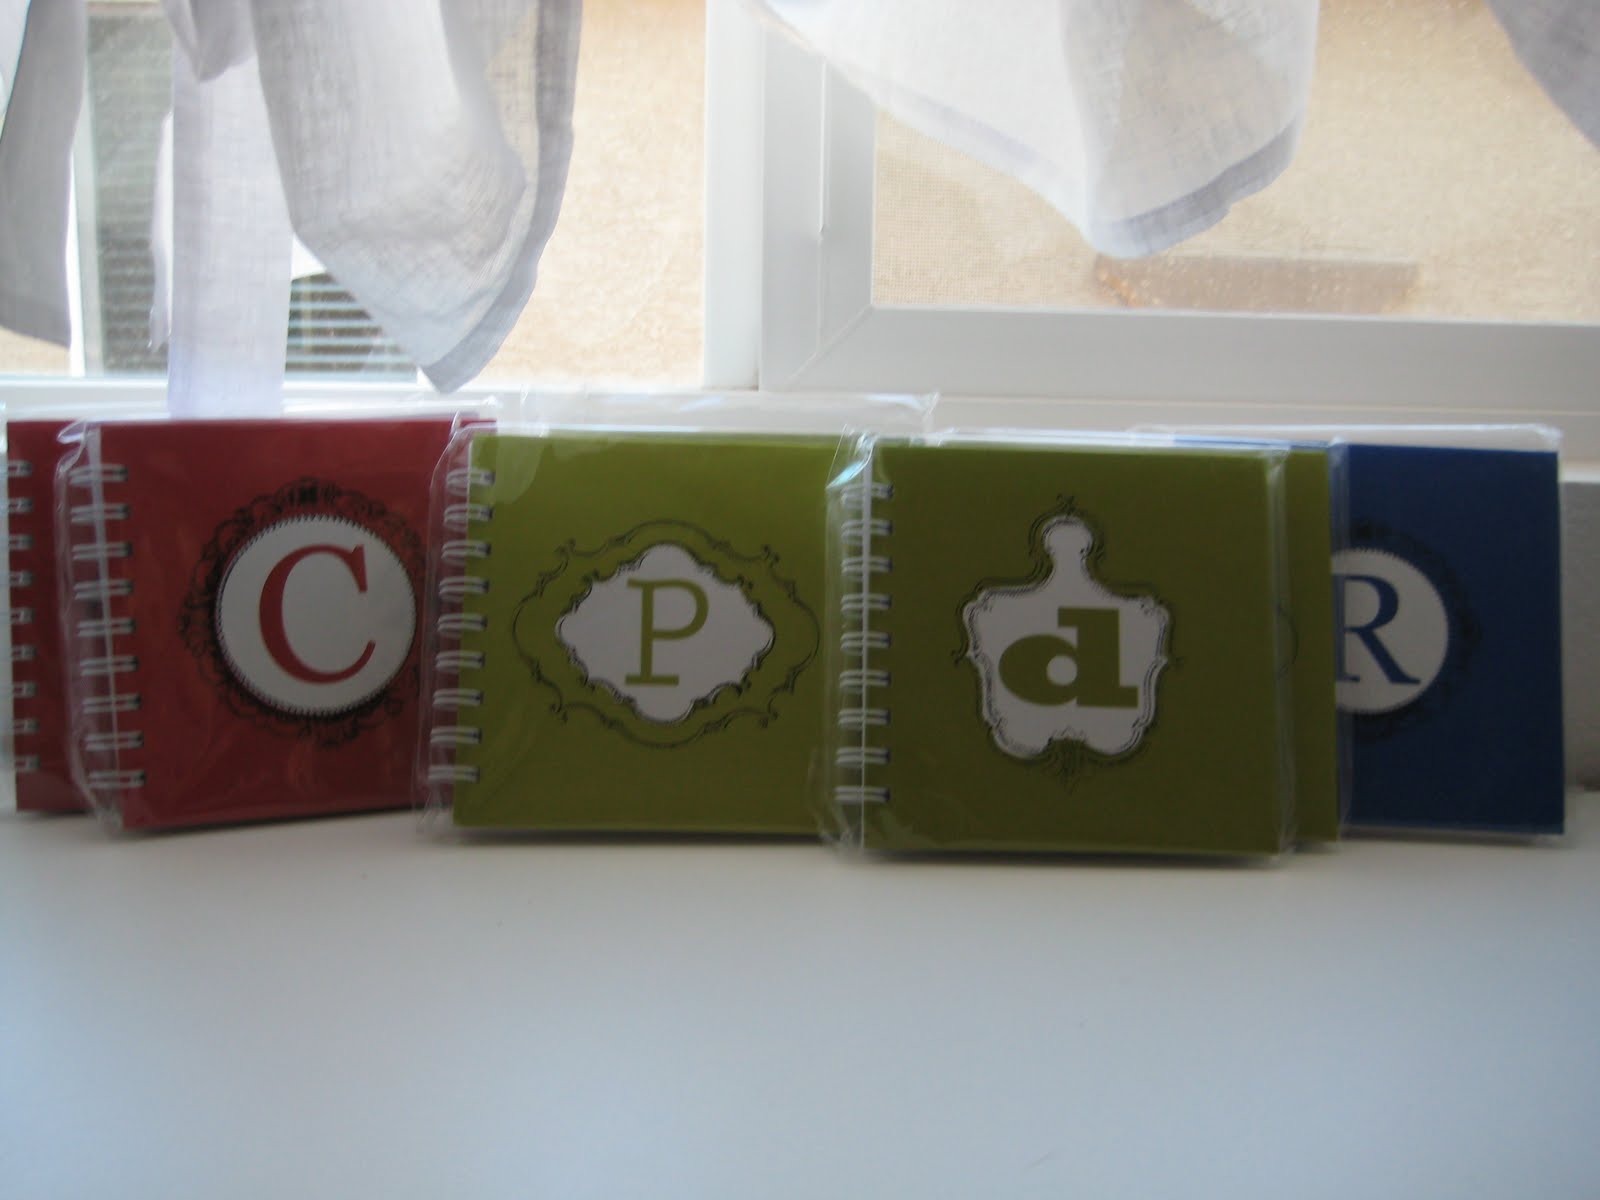
I'm a teacher and at the beginning of each year I look for something to make for the other teachers on my team and a few extra friends. This year I found these in the dollar bin at Michaels:
They are perfect to keep track of parent phone calls or communications. I liked the colors of the little notebooks, but they did not have the right initials on them. Here comes the "sprucing!" Before I show you what they look like now, I have a little back story for you. Do you ever get a little frustrated with someone at work or home? Do you ever just have "one of those days?" Well, when I have repeated myself 3, 5, or more times, or get a little frustrated with a co-worker I just say a little word that puts a smile on my face. I shared this with my team and friends and we help each other out by saying this word to each other. The word is "cupcake!" Try it next time, and you will see. :) I must have said this a ton last year, because when one of my kindergartners was asked, "What's something that Mrs. Luccketta says a lot?" He said, "cupcake!" (It's in the end of the year scrapbook they made for me.) Back to crafting, here's what they turned into with a little "sprucing" from me:
Of course I had to make one for myself, too!
I started by using kraft paper from JoAnns and my trusty Gypsy.
I used a scallop square from Mini Monograms and made the height 5.29". Then I picked up a circle from Accent Essentials and made the height .55". I put a circle in each scallop and then welded it together. Next, I used the "duplicate" button to make as many as I needed to cut.
I then used a DCWV paper pack to cut out the rounded corner squares. This square is from Slumber Party (it is a charm layer) and the height is 3.78".
Next, I used Feeling Groovy and DCWV glitter paper to cut out the names that I had welded.
One of my fav cartridges right now is Rock Princess, and that's where I got this adorable cupcake with crossbones! The cupcake and crossbones are on page 77.
*Cupcake and bones-2"
*Frosting- 2 1/4" (I liked the way it layered better)
*Liner-2 1/4" and then I ran it through my crimper
*I wanted to give the cherry more dimension and make it bigger so I used the "layer2" feature and cut them at 5 3/4" with red glitter paper.
I tied twine around the liner part of the cupcake and then used 3D dots to "pop" the cupcake on the crossbones.
The names, frosting, and cherries are all cut on glitter paper. I wish you could see how sparkly they are, but the pics just don't do them justice! ;)
 
I hope you liked my little "sprucing" up project (my team and friends LOVED them!). Thank you Sheila for allowing me to be a guest designer today! Please hop on over to my blog anytime: craftin-on-my-door.blogspot.com

Happy craftin' to all! ;) Kristy

Sunday, August 8, 2010

You are my SUNSHINE layout

A while back I found Sketches In Thyme. I have been wanting to submit an entry for one of their challenges, and today while the Little One was taking a nap I finally had a chance to put a layout together. Here is the sketch for Challenge #9:
And here is what I came up with:
I have to say, "I LOVE my Gypsy!" I used it to help me "search" for all of the cuts I wanted, to make my sun HUGE, and to weld my "you are my" together.
*The sun is from Gypsy wanderings and was cut at 11.59" (height).
*The "You are my" is from the Feeling Groovy (Loooove this font!) Lite cart and was cut at 2".
*The "Sunshine"(cut at 2.50") and shadow (cut at 2.53") are also from Gypsy wanderings.
*The puffy clouds are from Create a Critter and were cut at 1.82", and the outline clouds are from Graphically Speaking and were cut at 1.59".

Papers are from Stampin' Up. I used Baja Breeze stamp pad to ink around the edges of "you are my," and the clouds.

I also used a brown Bazzill scallop border to add some dimension. Then I "sugared" my SUNSHINE phrase by putting it in my Xyron upside down and then used Starbright gold glitter. Lastly, I used SU's dimensionals to "pop" up the phrase. 
I added the date and "Two Weeks New!" using Making Memories Alphababies stickers.
Just as I was finishing up this layout I came across Frosted Designs challenge "Celebrate Life," and I thought that this would also fit in perfect over there too! This precious Little Pickle Princess has been 6 YEARS in the making, and this story is absolutely amazing! We celebrate her and our lives together DAILY! Adoption is a beautiful blessing! Here's to my Little Sunshine and all of you! :)