Showing posts with label Create a Critter and Slumber Party cartridges. Show all posts

Sunday, August 8, 2010

You are my SUNSHINE layout

A while back I found Sketches In Thyme. I have been wanting to submit an entry for one of their challenges, and today while the Little One was taking a nap I finally had a chance to put a layout together. Here is the sketch for Challenge #9:
And here is what I came up with:
I have to say, "I LOVE my Gypsy!" I used it to help me "search" for all of the cuts I wanted, to make my sun HUGE, and to weld my "you are my" together.
*The sun is from Gypsy wanderings and was cut at 11.59" (height).
*The "You are my" is from the Feeling Groovy (Loooove this font!) Lite cart and was cut at 2".
*The "Sunshine"(cut at 2.50") and shadow (cut at 2.53") are also from Gypsy wanderings.
*The puffy clouds are from Create a Critter and were cut at 1.82", and the outline clouds are from Graphically Speaking and were cut at 1.59".

Papers are from Stampin' Up. I used Baja Breeze stamp pad to ink around the edges of "you are my," and the clouds.

I also used a brown Bazzill scallop border to add some dimension. Then I "sugared" my SUNSHINE phrase by putting it in my Xyron upside down and then used Starbright gold glitter. Lastly, I used SU's dimensionals to "pop" up the phrase. 
I added the date and "Two Weeks New!" using Making Memories Alphababies stickers.
Just as I was finishing up this layout I came across Frosted Designs challenge "Celebrate Life," and I thought that this would also fit in perfect over there too! This precious Little Pickle Princess has been 6 YEARS in the making, and this story is absolutely amazing! We celebrate her and our lives together DAILY! Adoption is a beautiful blessing! Here's to my Little Sunshine and all of you! :)

Tuesday, July 27, 2010

FCCB Challenge Me Monday #20

Today's challenge at Fantabulous Cricut was to create a card or project using an animal on any Cricut cartridge. Well, my Little Pickle Princess finally got 2 teeth this past week, and I knew I just HAD to make this layout:
I took two pictures of her and her "2" new teeth, and as soon as I print them out I can just stick them right on top of the photo mats!
Paper Recipe:
Photo mats, wood grain, and journaling background- DCWV the Green Stack
All other papers-Stampin' Up

I wanted the title to have a "chipboard" effect so I cut each letter 3 times and layered them on top of each other. I used Storybook and cut each letter at 1 1/2". Then I used the "Shorty" feature and cut the "2" at 1 1/2" (3 times) also. Next, I ran the "2" through my Xyron (upside down) and then glittered it. I wanted the "2" to have a little more dimension so I also used 3D-dots to "pop" it up on top of the little white beaver teeth. The wood grain base was cut using the Slumber Party cartridge and the "circle charm key" at 4 1/4".
Can you see all the little "bite" marks? I used my Stampin' Up scallop punch to make the bite marks around the edges of my page.

I used the Create A Critter cartridge and cut the beaver out at 3 1/4". I cut the teeth out at 5 1/2" and then used ultra fine glitter to make them sparkle! Then I used 3D-dots to "pop" up this little cutie!
I used the Cherry Limeade cartridge and my lovely gypsy to make the sayings "Our Little Beaver," and "July 2010."
The ribbon is from one of my local scrapbook stores. I typed up my journaling on the computer and changed the font color to dark brown so that it would match my papers. Then I changed a few words here and there to red. I used my SU punch again to take a "bite" out of the corner, and then added a couple yellow blings!
I can't wait to print out my pictures and add them to this layout! It was super easy, and I think it turned out pretty darn cute!
 Do any of you have "Little Beavers" out there? Which teeth usually come in next?

I hope I've inspired you to scrap something special today! Happy crafting! ;)

Friday, July 2, 2010

Create a Critter cards

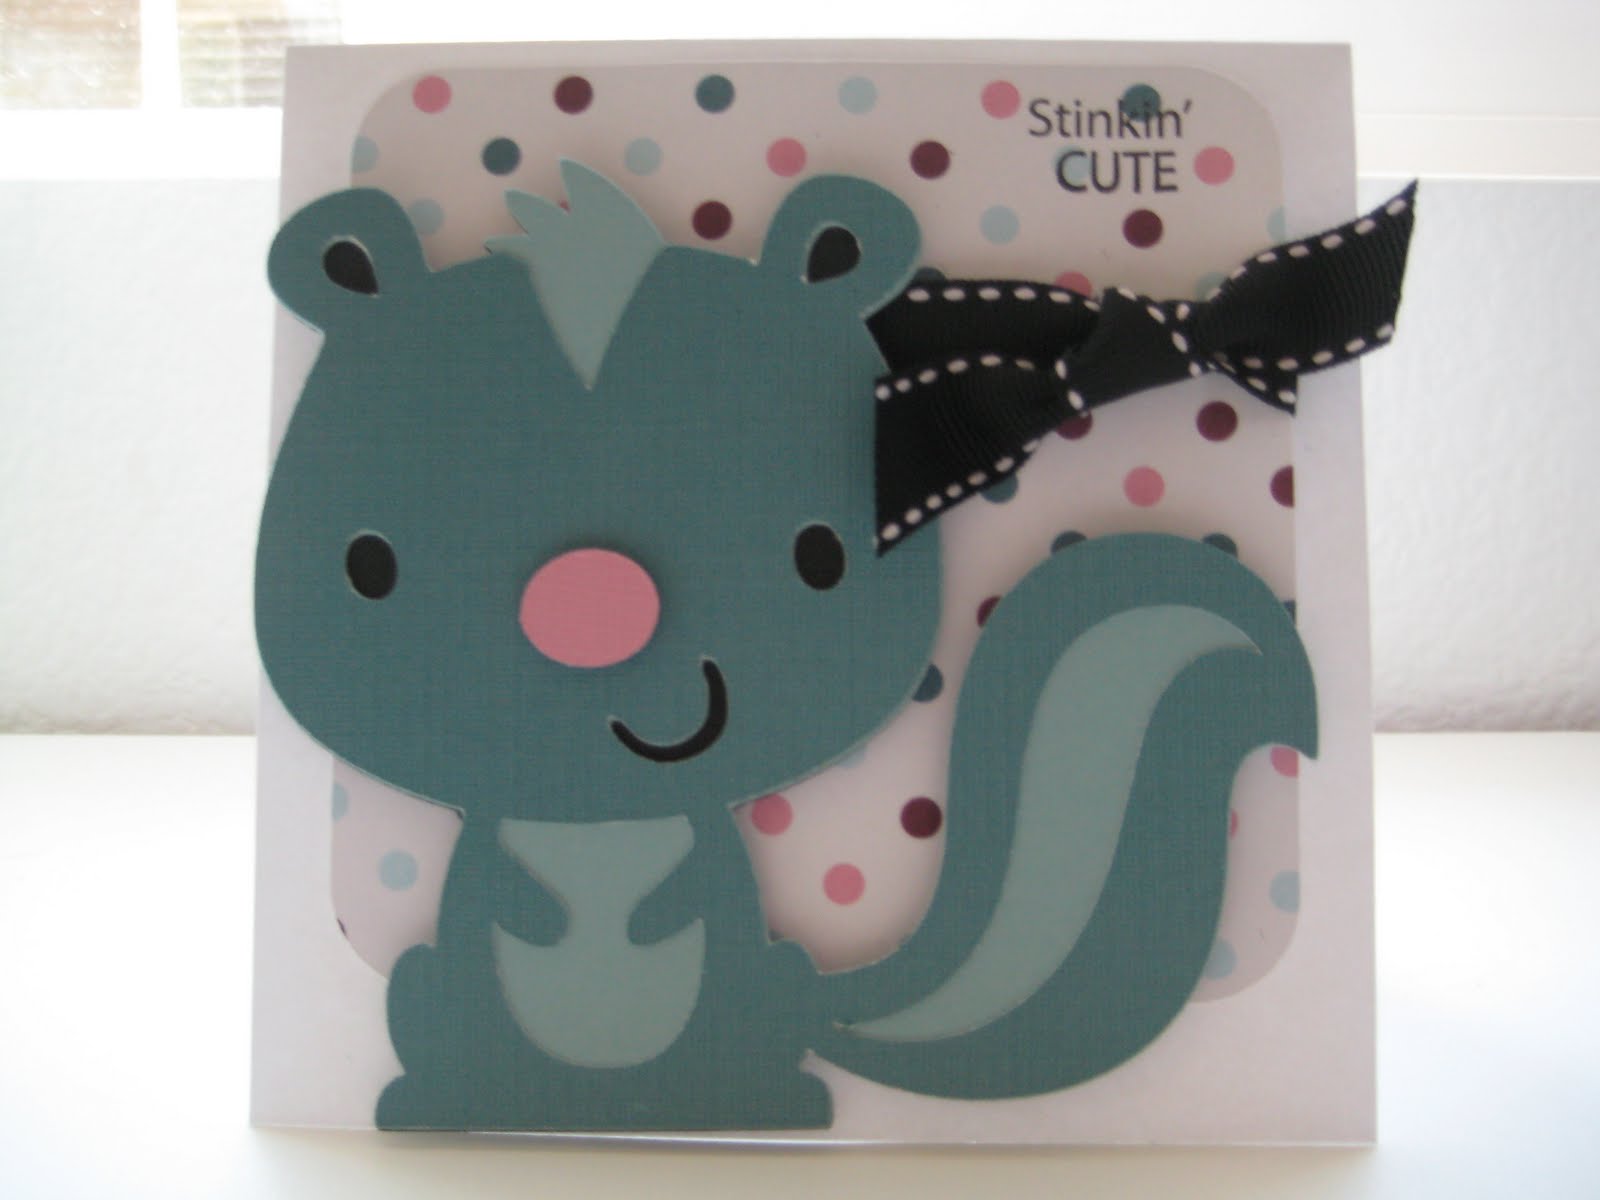
I LOVE the Create a Critter cartridge and put it with the MPS Punny-licious stamps, and you have the perfectly-cute card! These little critters just make me smile. Are you ready to smile?
The Skunk:
 The card base was cut at 5" x 10". Then scored at 5" and folded in half. The background paper is AC patterned paper (the Christmas stack), and I used the NEW Slumber Party cartridge's "square tag-layer" for the cut 4 1/4". The Skunk and his layers were all cut at 4 1/4".
*Black paper-Recollections
*Dark Blue paper-DCVW jewel stack
*Light Blue paper-Stampin Up's Baja Breeze
*Pink paper-Stampin' Up's Pink Pirouette
The ribbon is from Michael's and the stamp is from MPS's Punny-licious set. I also "popped" up the skunk with 3D-Dots to add dimension.
Shout Out....This was a Thank You card for my dear friend Jamie and her daughter Jayden. They got my Little Pickle some really cute little shirts (one of them is a Wonder Woman shirt, because every girl should have one of those!), and a really "Stinkin' cute" pink skull sippy cup!

Birdie:
 The card base was cut at 5" x 10". Then scored at 5" and folded in half. The background paper is Me & My Big Ideas stack, and I used the NEW Slumber Party cartridge's "square tag-layer" for the cut 4 1/4". The Birdie and her layers were all cut at 4 1/4" (except for the wing/flower they were cut at 4 1/2").
*Brown paper-Stampin Up's Chocolate Chip
*Light Pink paper-Stampin Up's DSP
*Dark Pink paper-scraps
*Yellow paper-Stampin Up's So Saffron
The ribbon is Stampin Up's So Saffron and the stamp is from MPS's Punny-licious set. I "popped" up the birdie with 3D-Dots to add dimension, added a little Prima flower, and a pink bling in the middle.
Shout Out....This was a Thank You card for Lalia and her daughter Stella for having my Little Pickle and myself over for dinner the other night! It was lovely!

I hope you all have a fun and safe weekend!